This is a Miss Rosie's Quilt Co. pattern called Elizabeth. I named my quilt Camping With the Girls because I purchased the pattern on the way to one quilt camp and pieced the blocks at another quilt camp...and no boys were present at either camp! The quilt is 68" x 68".
I just finished sewing all the rows together so ignore the fact that it is not quilted yet. Ignore the amateur photography with distorted blocks and poor lighting. Ignore any stray threads you might see with your eagle eyes. While this quilt is not exactly the same coloring as the photo on the pattern, it has the same look. I love, love, love a quilt like this. It is warm and cozy and comforting. Bright and white quilts don't create the same feeling for murky me.
The quilt contains three kinds of blocks - Sawtooth Star, Delectable Mountain, and Four-Patch - set on point. This makes the quilt interesting, but it also complicates the pressing. The pattern gives good directions, which I did not follow 100%. I thought I knew better, but that was not always true. However I would probably do it my way again if I ever make this quilt again. I can be stubborn. Oh, yeah.
The quilt is actually a medallion design with the four Delectable Mountain blocks in the center. Then there is a row of Sawtooth Star blocks on all four sides with Four-patch blocks in the corners. And so forth. This is a closeup of the quilt center:
Normally a medallion quilt is assembled from the center out. Because all of the blocks in this quilt are the same size (8" finished), the blocks are sewn into rows and then all of the rows are attached to each other.
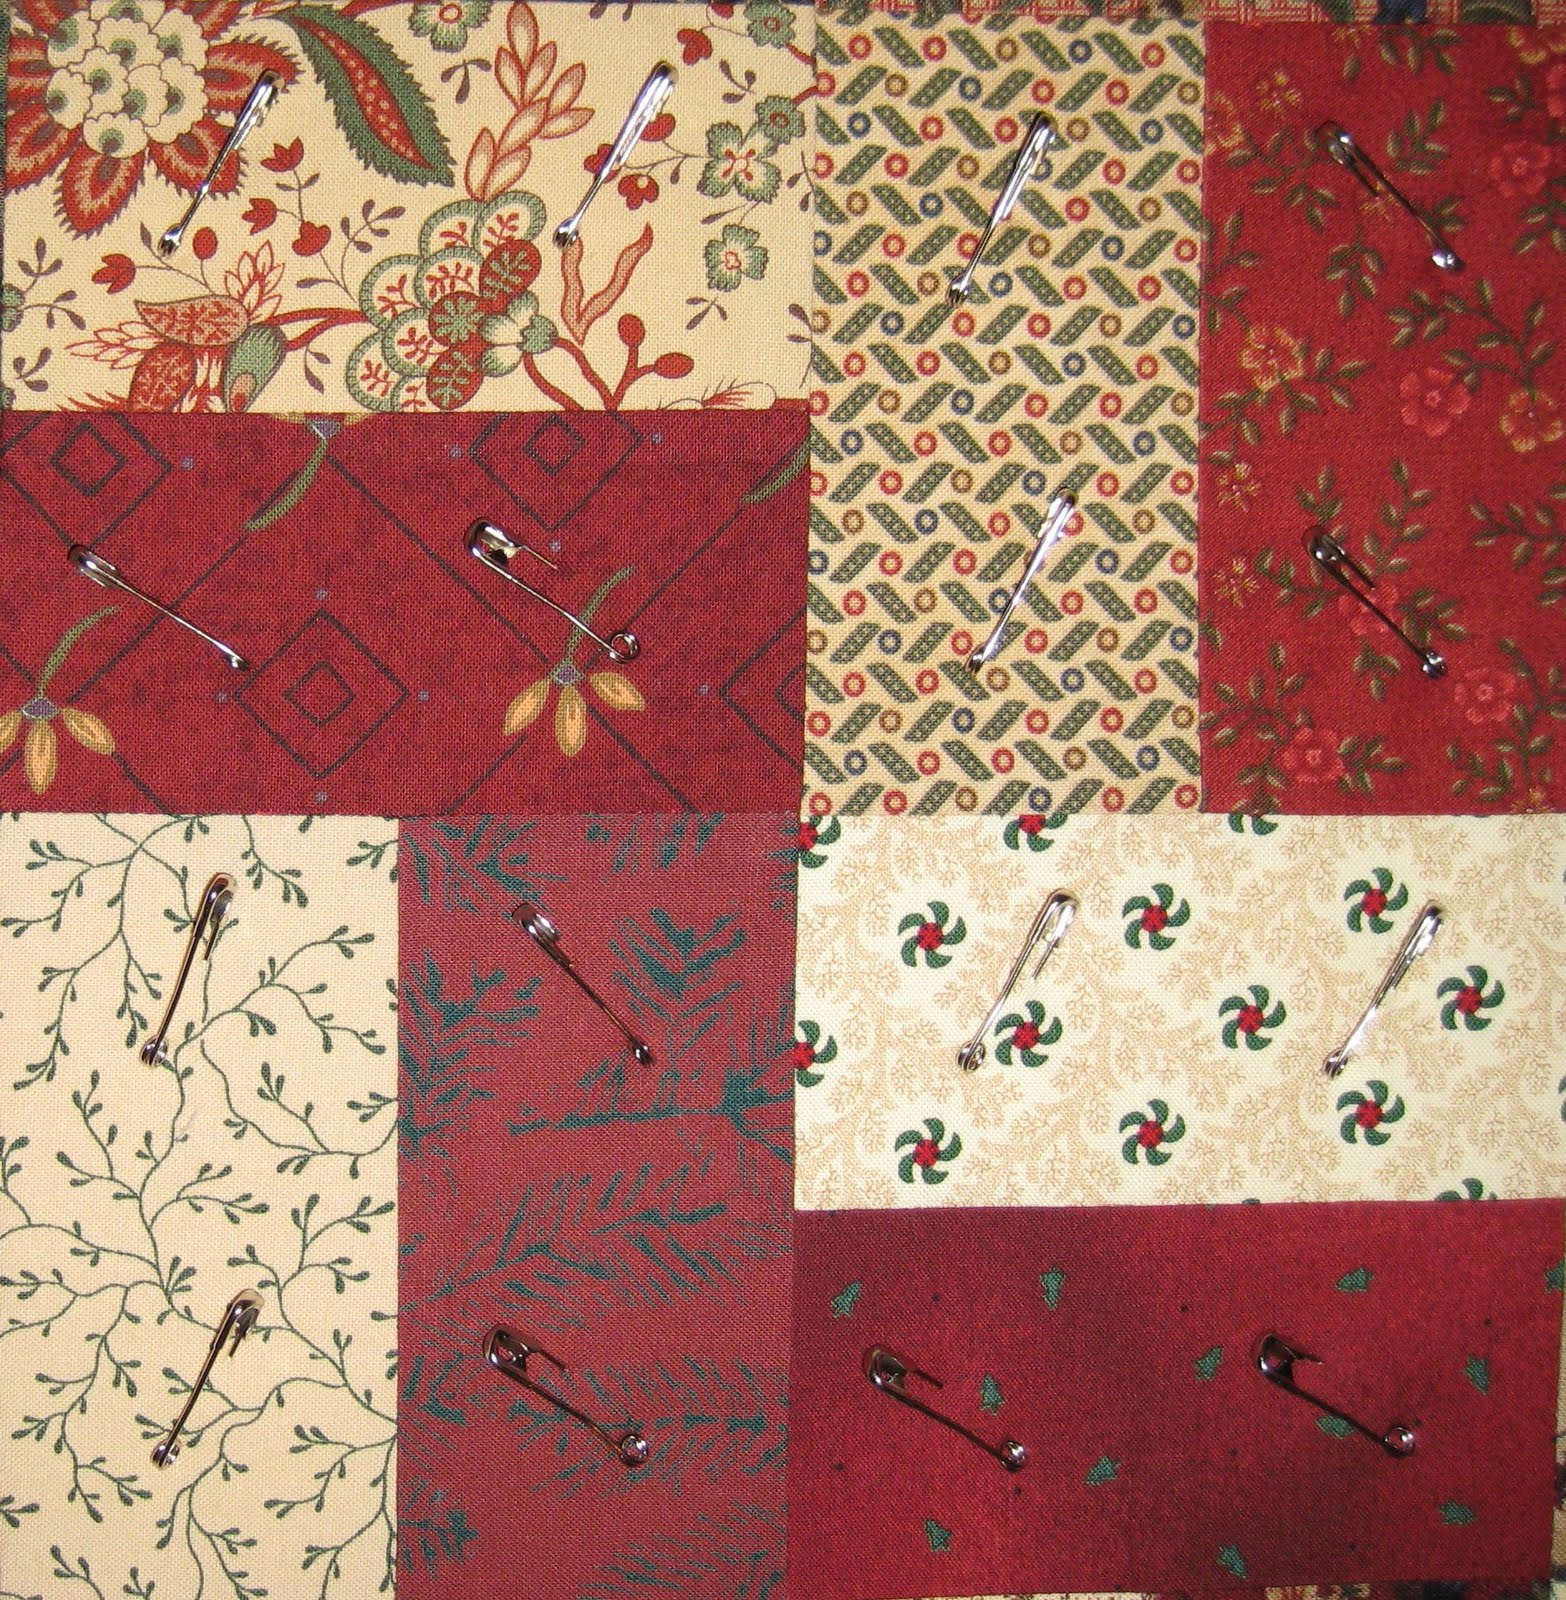
There are at least fifty prints in this quilt. That makes the top more interesting and creates a texture before any quilting is done. The lightest prints are in the background of the star blocks and in part of the Delectable Mountain blocks. There is a range of tan or taupe with red prints in the Delectable Mountain and the Four-patch blocks. The centers of the stars are shades of red with some rust mixed in. The star points and Delectable Mountain points are a range of browns. A few prints had green or blue in them. While piecing, I occasionally wondered if a particular block was going to be too different to use with the other blocks. If so, I would make a replacement block. In the end, all of the original blocks were used. No replacements were needed.
Here are closeups of two other sections of the top:
Next step --> prepare the backing and pin the quilt. I chose not to mark quilting lines because the fabrics in the top are too varied and generally too dark for easy marking. This top may require a Golden Thread paper solution.