The is Star Spangled. I had 11 blocks leftover from this quilt.
When I embarked on my mission to use those 11 blocks, I vowed that I would do it with what was currently in my stash. No additional purchases would be made. I was able to piece 7 wall hangings or table toppers from my stash. I found pieces of batting for all of them. I did not have to cut into new batting or pieces that would work for much larger quilts. I also found backing for all of the tops in my stash. This is the backing I wanted to use for one of the tops.
The green part is not the wall. It is attached to the backing. But why on earth are these strange green strips attached to the back?
You've heard of hair extensions. These are quilt back extensions. The top measured 17 1/4" x 28". The fabric that I selected for the back was a 1/2 yard cut that had been washed. It was big enough to cover the entire back, but the obligatory 3" extra on each side of the quilt would not be there. So I sewed these strips onto the backing very carefully to make sure at least 17 1/4" would remain for use in the quilt back.
Why would someone who owned all of this do such a thing?
That was my
stash closet. I buy a lot of half yards and fat quarters for my collection. They are all folded consistently and stored in the stash closet. What I haven't told you is that I have a separate stash of fabrics that would be good for backs. Many were on sale in back rooms...or full price, but too beautiful to ignore. These are stored in my
stash piesafe because they are folded differently. They don't fit in the stash closet anyway.
Why not use something from my stash piesafe? Because I don't want to cut into a 4 yard+ piece of fabric if something from my stash closet is
technically big enough.
Do you really need 3" extra for the backing/batting? No, BUT (big but) if you don't have it and you plan to include free motion quilting anywhere close to the edge of the quilt, you will sacrifice a lot of control. I was quilting feathers in my borders. I had skimped on backing for some of the quilts posted in recent days. Many feathers were less than perfect. Could it be due to the fact that I didn't have enough control when quilting in the border? It didn't make sense to sacrifice control in the border when my reason for finishing these quilts now was to get better at quilting feathers without marking.
Refer to the picture below. My thumb rests on the quilt top. The rest of my right hand is on the backing and batting. (This particular backing was a little less than 3" so my little finger was not on the quilt back.) If it had not been holding the camera, my left hand would have been on the roll guiding the fabric.
I should have had my nails done...
To avoid cutting into bigger yardage, to restrain myself from running out to make a 3/4 yard purchase, and to still have 3" extra all the way around the top, I invented quilt back extensions. I will probably not bother to get a patent on them so feel free to use quilt back extensions if you find yourself in a bind. No permission required.
Still you might ask why someone would go to all this trouble. Entire websites have been devoted to disorders of this nature. This blog is not one of them.
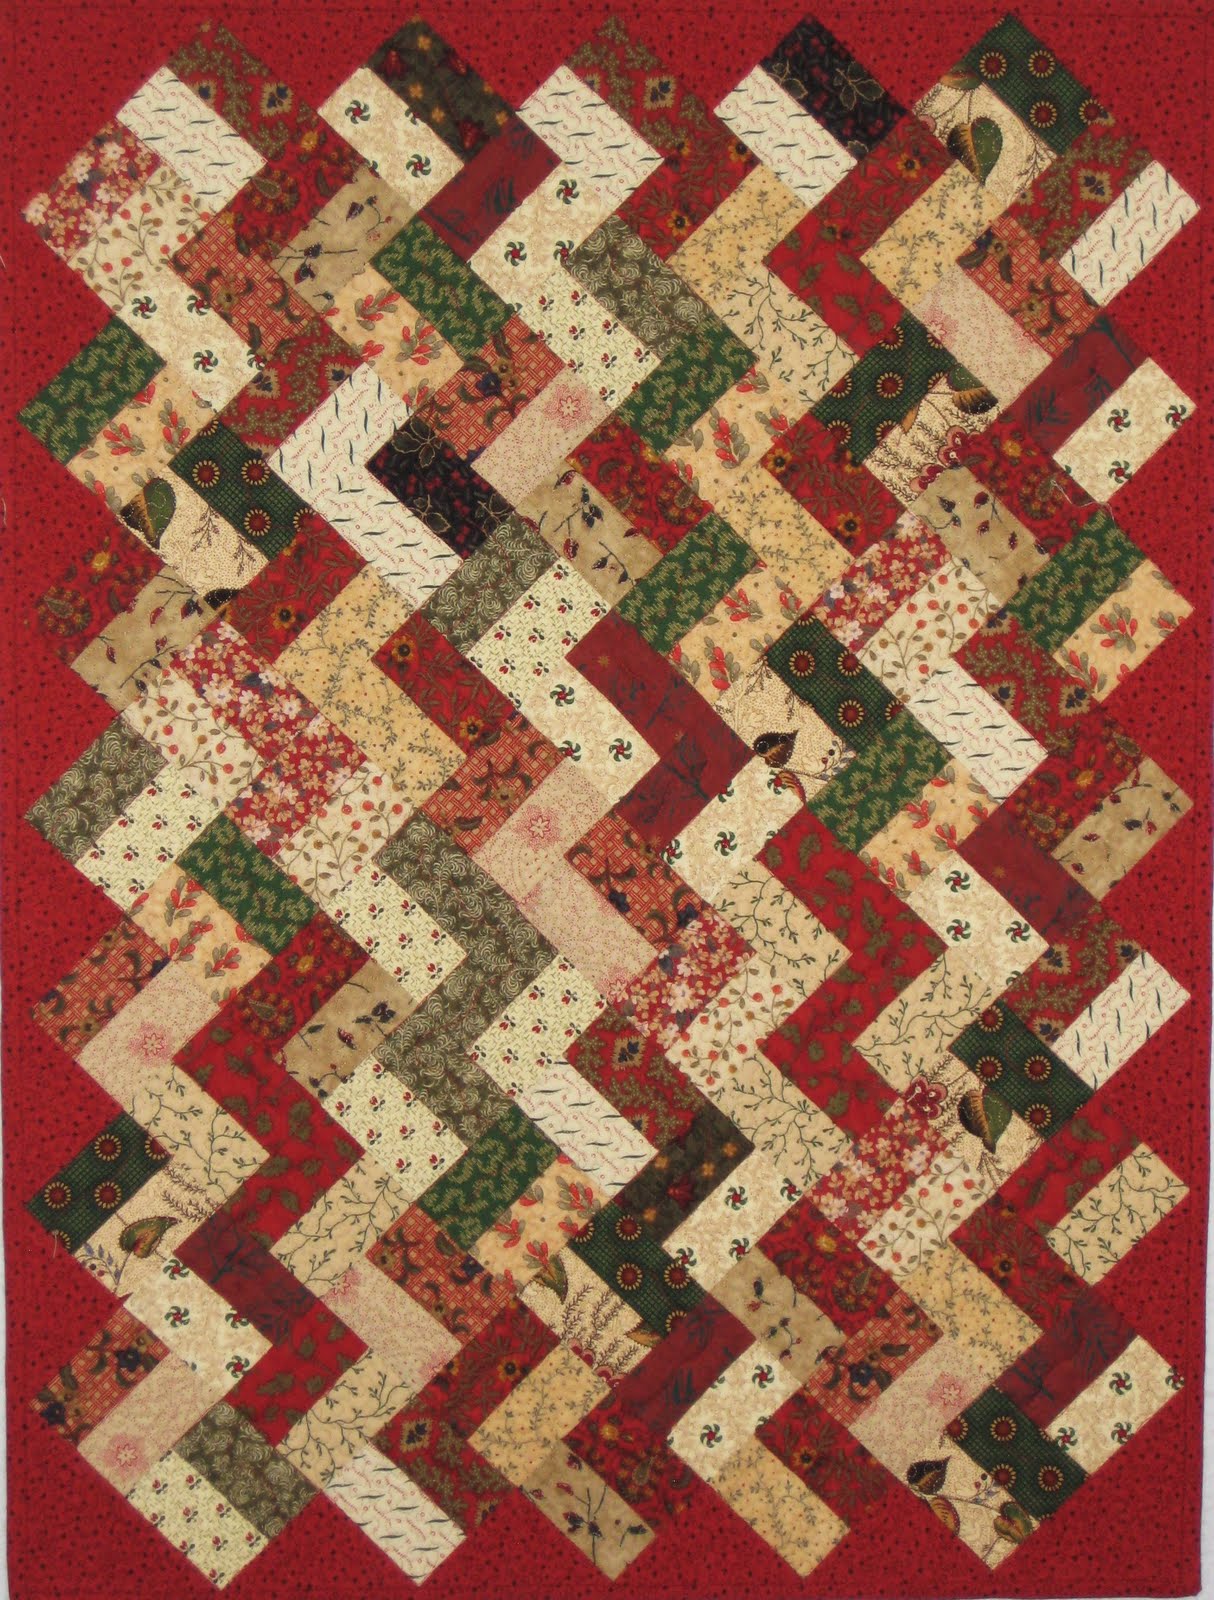
This is the finished quilt.
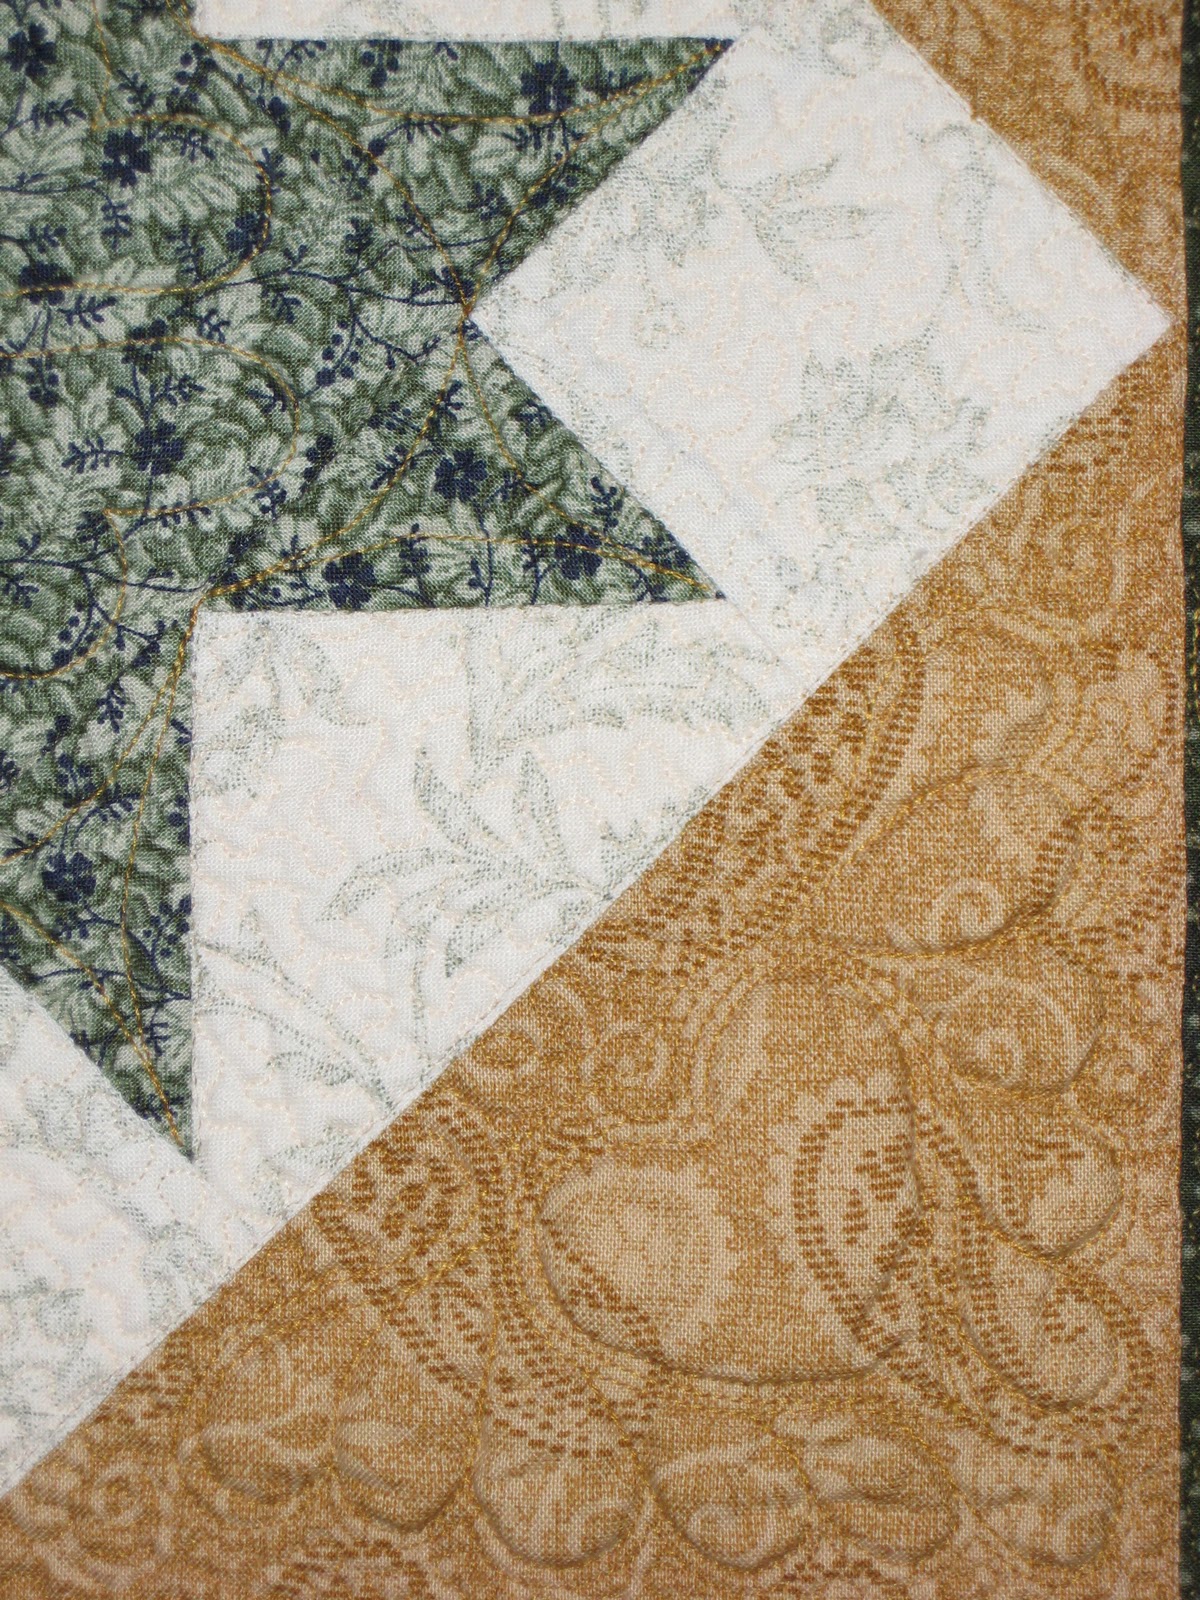
These are the best feathers so far. I felt more relaxed because I had better control while quilting.
The moral of the story: To quilt my best, I need 3" extra backing and batting on all 4 sides of the quilt.